
38 DIFFERENT COLORS TO CHOOSE FROM
Please follow the steps below for a perfect application
You can use a standard household iron or a commercial heat press to apply your iron on name transfers. If you get stuck, please reach out to us - we're more than happy to help!
Step 1
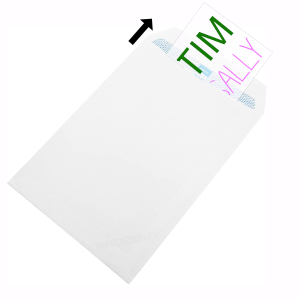
Once your order arrives, remove the transfers. Be sure to check the envelope fully as some transfers can sometimes get stuck.
Step 2
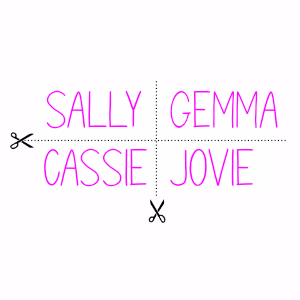
Transfers in the same colour are often sent on the same sheet, you can use standard scissors to cut the transfers into individual items.
Step 3

Place your iron on letters down on your garment (which should be on a hard flat surface ie. table) in the order you require.
All transfers are mirrored so place them down so they look correctly when viewing the garment.
Step 4

Place a piece of white clean paper over the transfers ensuring that your transfers do not move whilst ironing.
Step 5

Do not Use Steam
All materials are different, and therefore we advise to set your iron at a low temperature first - then follow the rest of the instructions. If the transfers have not fully attached, increase the temperature slightly and repeat until the transfers have stuck correctly - do not exceed the cotton 1 pre-set.
If the plastic carrier is melting your temperature is far too high - please turn down your iron.
Press the iron firmly onto the transfers ensuring you do not move the iron.
Do this for between 15-30 seconds.
Step 6

Remove the paper, and leave to cool for 5-10 seconds.
Slowly peel back the plastic leaving your iron-on transfers in place. If the transfers begin to peel then re-iron for longer and use more pressure.
Step 7

This step is optional. If your transfers look a little bumpy, then take the piece of white paper, cover the transfers again, and iron normally using a good firm pressure.
Complete!
Congratulations! Your transfers have been applied successfully 😍
We accept all major Credit/Debit card & PayPal
We also accept payments over the phone
